Helldivers II Remake
Drop Sequence
Breakdown
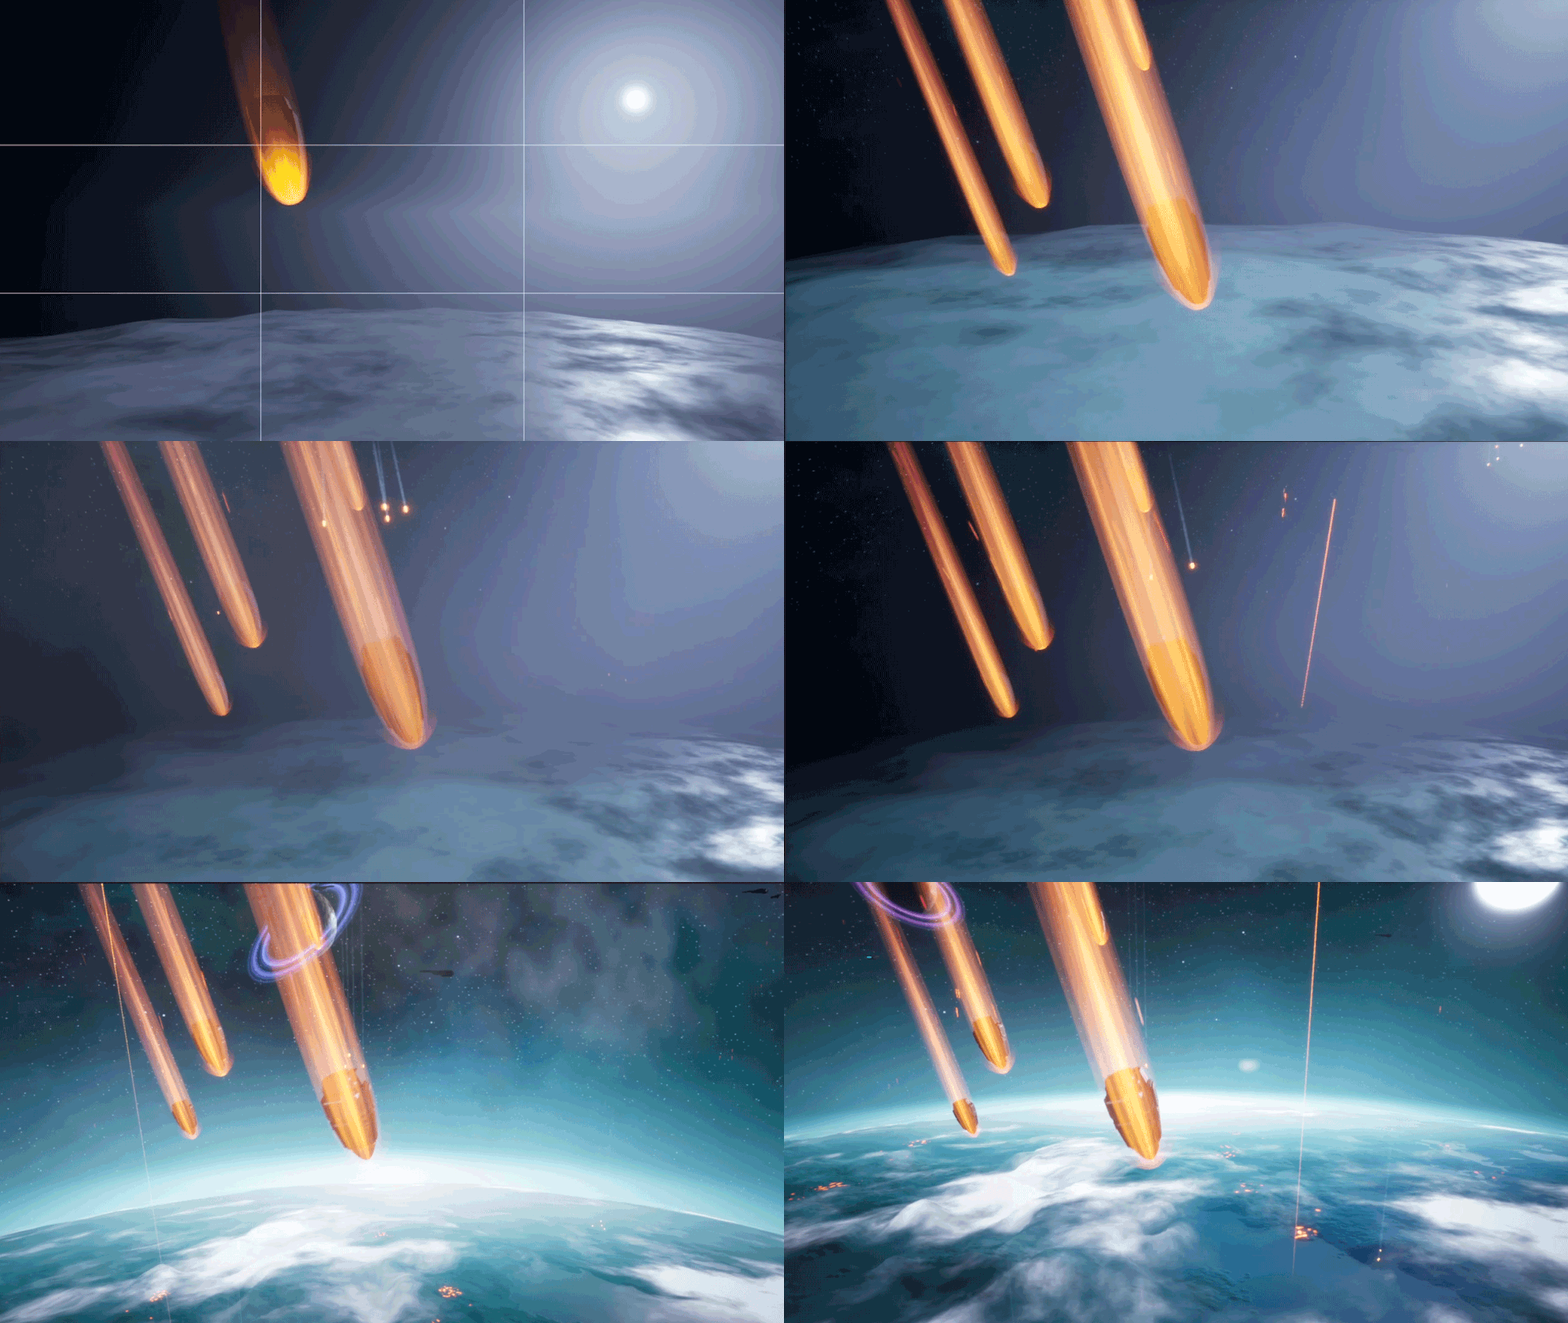
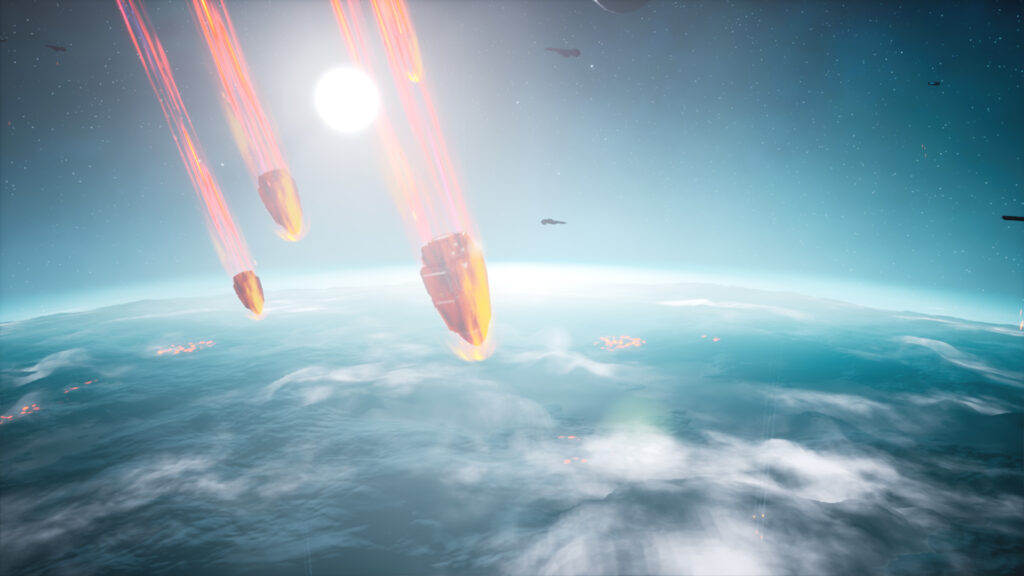
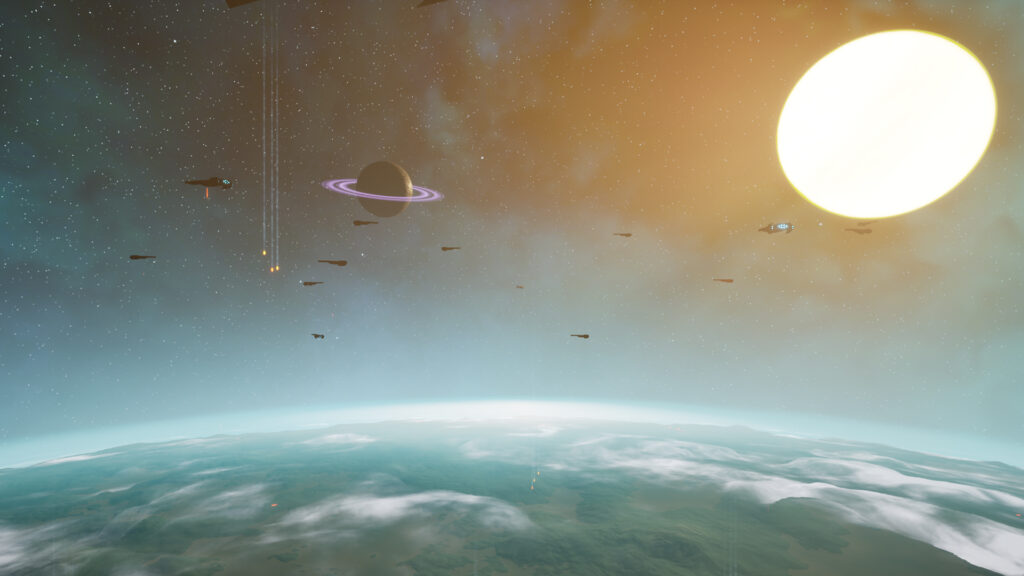
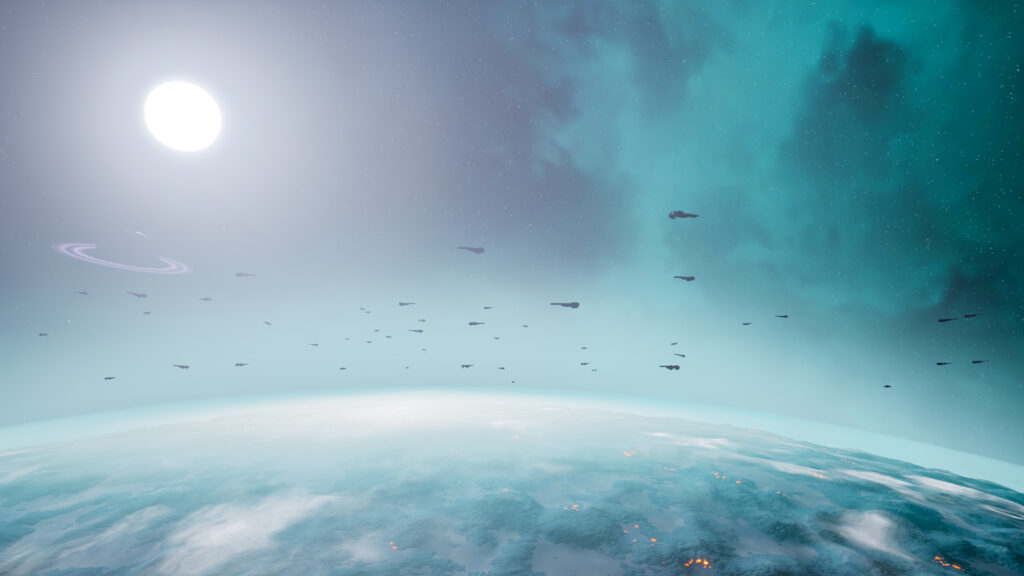
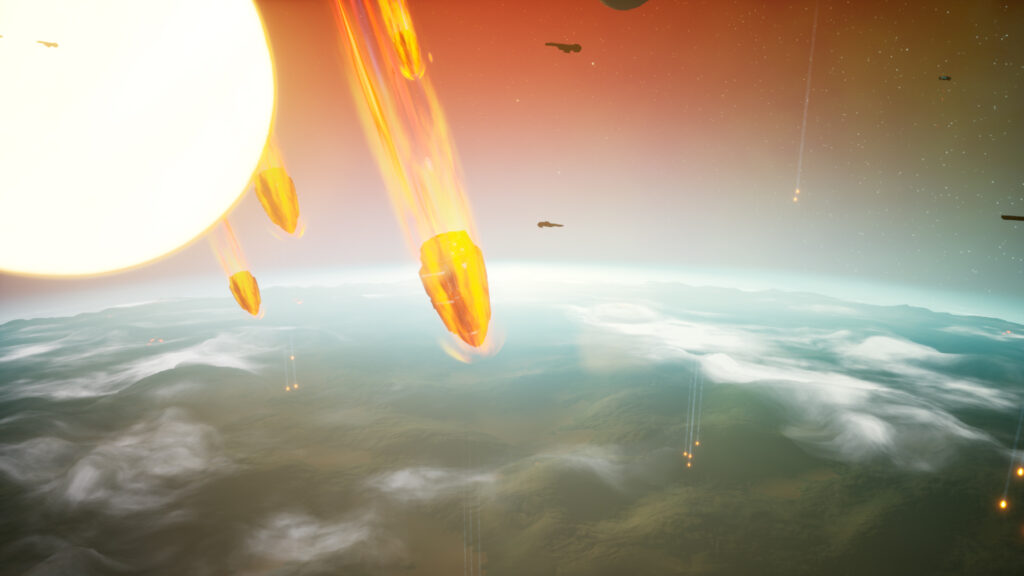
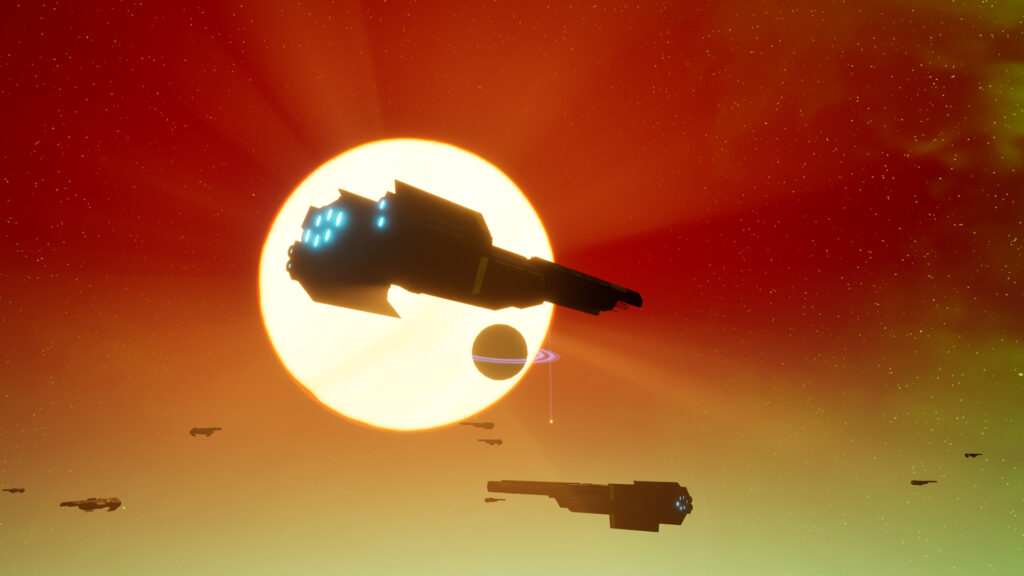
This Helldivers 2 Unreal Engine 5 scene was recreated by our studio, Brume Studio, to showcase our expertise in Technical Art. Our goal was to render a full, game-ready cinematic sequence while maintaining real-time performance.
The sequence is fully optimized and can seamlessly run in-game through a simple Level Sequence load in Unreal Engine 5. We also focused on scalability, similar to what is required in a production environment, as demonstrated in this Helldivers 2 Unreal Engine 5 technical art showcase. To achieve this, we developed custom tools that allowed us to quickly create and iterate on multiple scene setups.
A fully parametric system
We developed custom tools in Unreal Engine to procedurally generate the planet’s atmosphere and overall visual design using only two parameters:
Sun distance
Sun intensity
By adjusting these two sliders, a wide range of planetary environments can be created. A powerful star at an optimal distance results in a habitable planet with liquid water and a blue atmosphere. If the sun is too close to the planet, the oceans evaporate and the surface becomes dry, dominated by rock and sand. Conversely, a weak and distant star leads to a frozen world covered in snow and ice.
Additionally, we implemented a lighting preset system that allows lighting setups to be saved and reused directly within the scene, enabling fast iteration and efficient visual exploration.
Procedural Planete
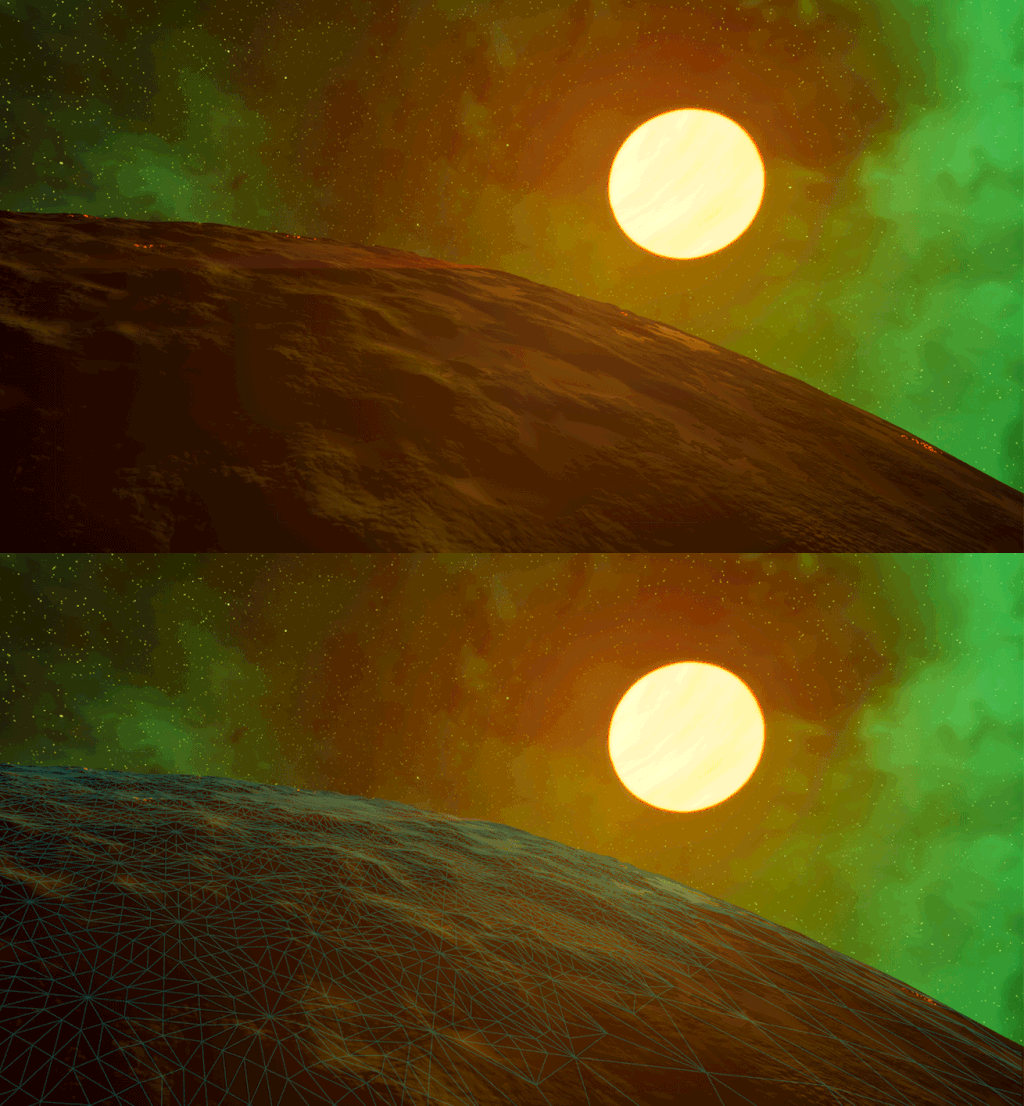
To avoid shadow artifacts caused by using World Position Offset on large-scale assets, we chose to directly modify the geometry within the static mesh to better match the planet surface textures.
We developed a lightweight editor tool that allows this adjustment to be performed quickly with a single click, streamlining the workflow and reducing manual iteration.
To keep the mesh lightweight, this geometry displacement is applied only to a limited area on the upper side of the planet, the region closest to the camera, ensuring visual fidelity where it matters most while maintaining optimal performance.
One Big Niagara
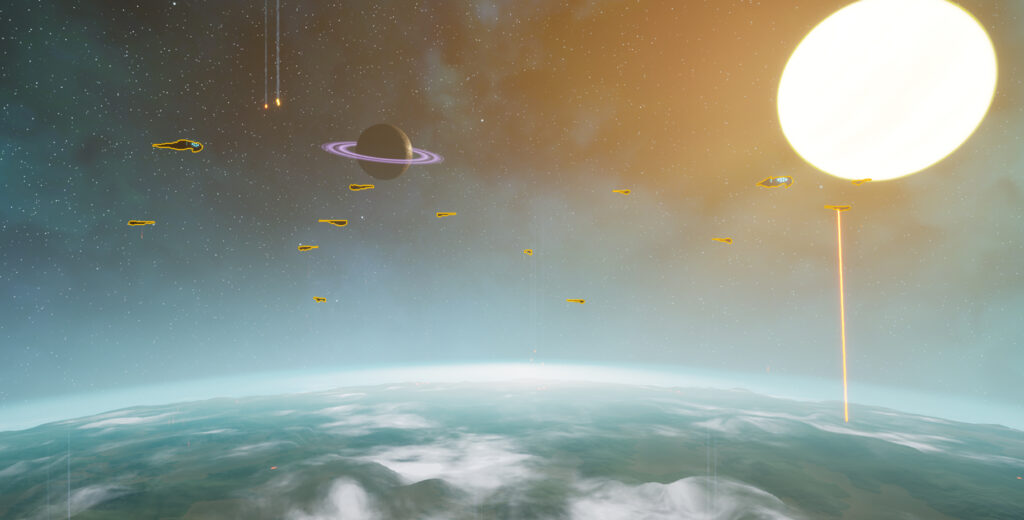
For all the spaceships, we used a Niagara system responsible for placing and spawning the ships. Each ship then spawns additional emitters to handle its attack behavior.
For the missiles, we wanted them to spawn in packs and to have a single parameter controlling the total number of missiles spawned. To achieve this, we introduced an intermediate emitter called MissileManager.
The MissileManager controls the number of spawns through this parameter, and each instance spawns missiles at a defined rate over its lifetime. By adding randomness to the manager’s lifetime, we control the total number of missiles spawned in each salvo.
Minimum Modelisation
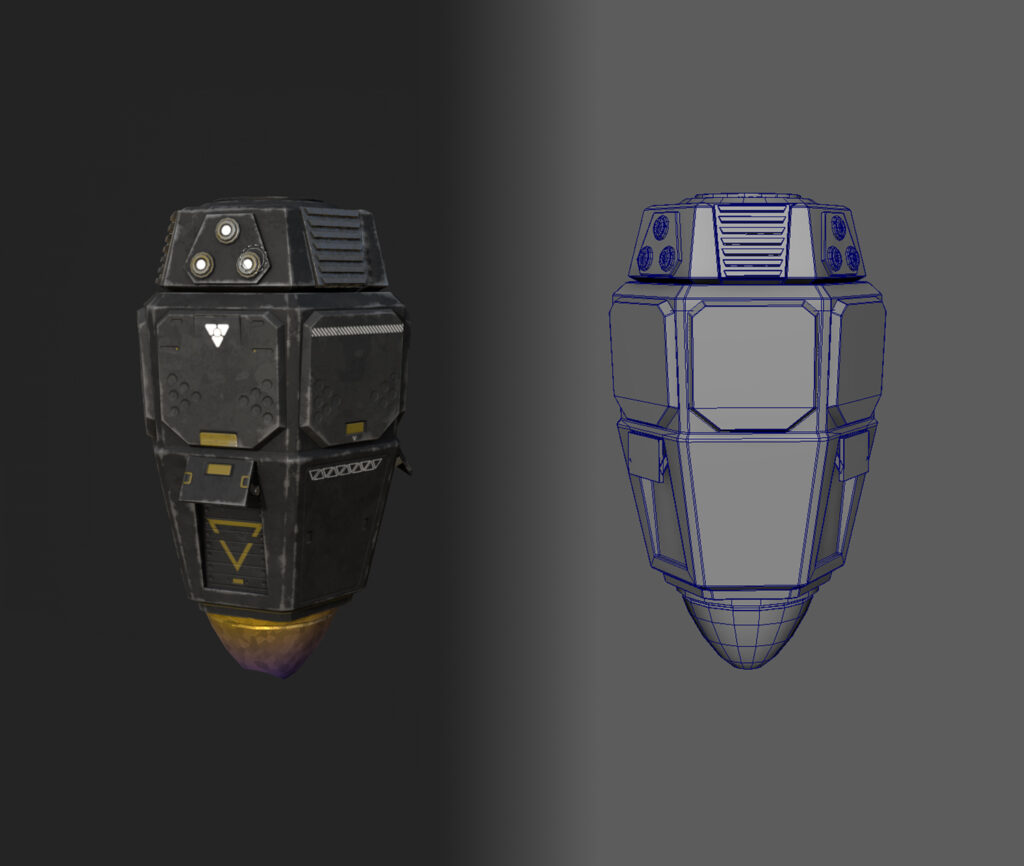
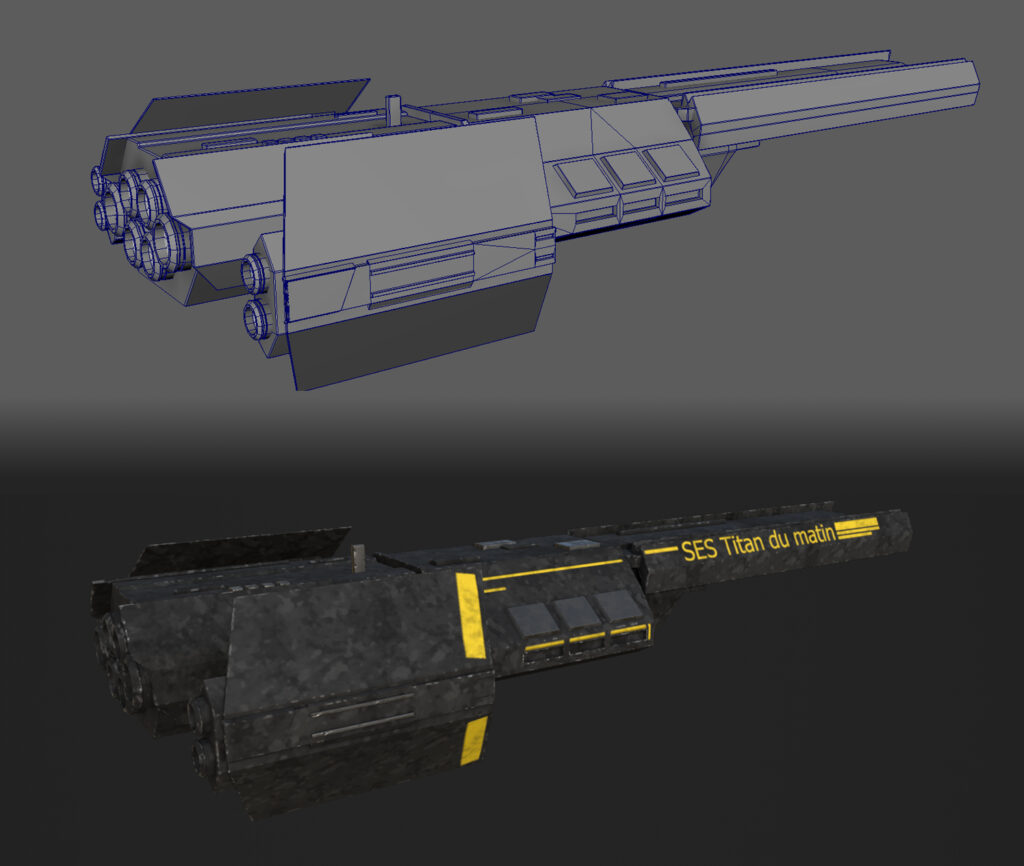
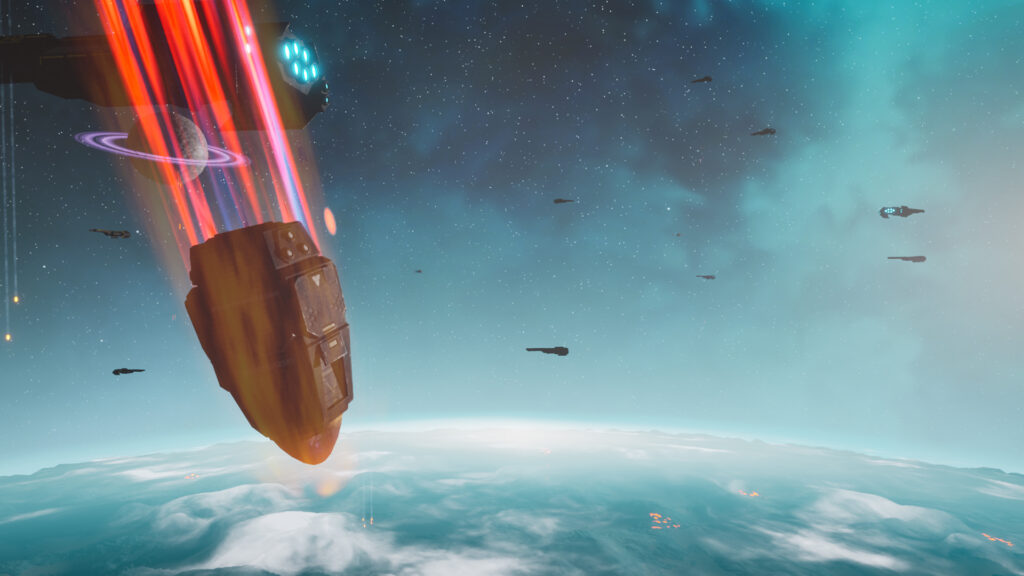
For this project, we aimed to use as little custom geometry as possible and avoided third-party assets. However, the scene could not be created without the iconic Hellpods and Destroyers.
We used placeholders for most of the scene during the production phase, then replaced them with custom models at the end. Due to the overall distance of the objects from the camera and the high-contrast lighting of the scene, these elements could remain relatively low in detail.
However, since the first sequence was recorded last and we did not yet know how it would be framed, we still added some mid-poly details in case the camera ended up closer to the assets.
Timelpase
This project took a significant amount of time to complete, as it involved many refinement passes, revisiting earlier work to improve it or to merge it with newly developed elements.
You can see a short fast-forward of the process here.

